
5 Key Points Every Operator Must Know
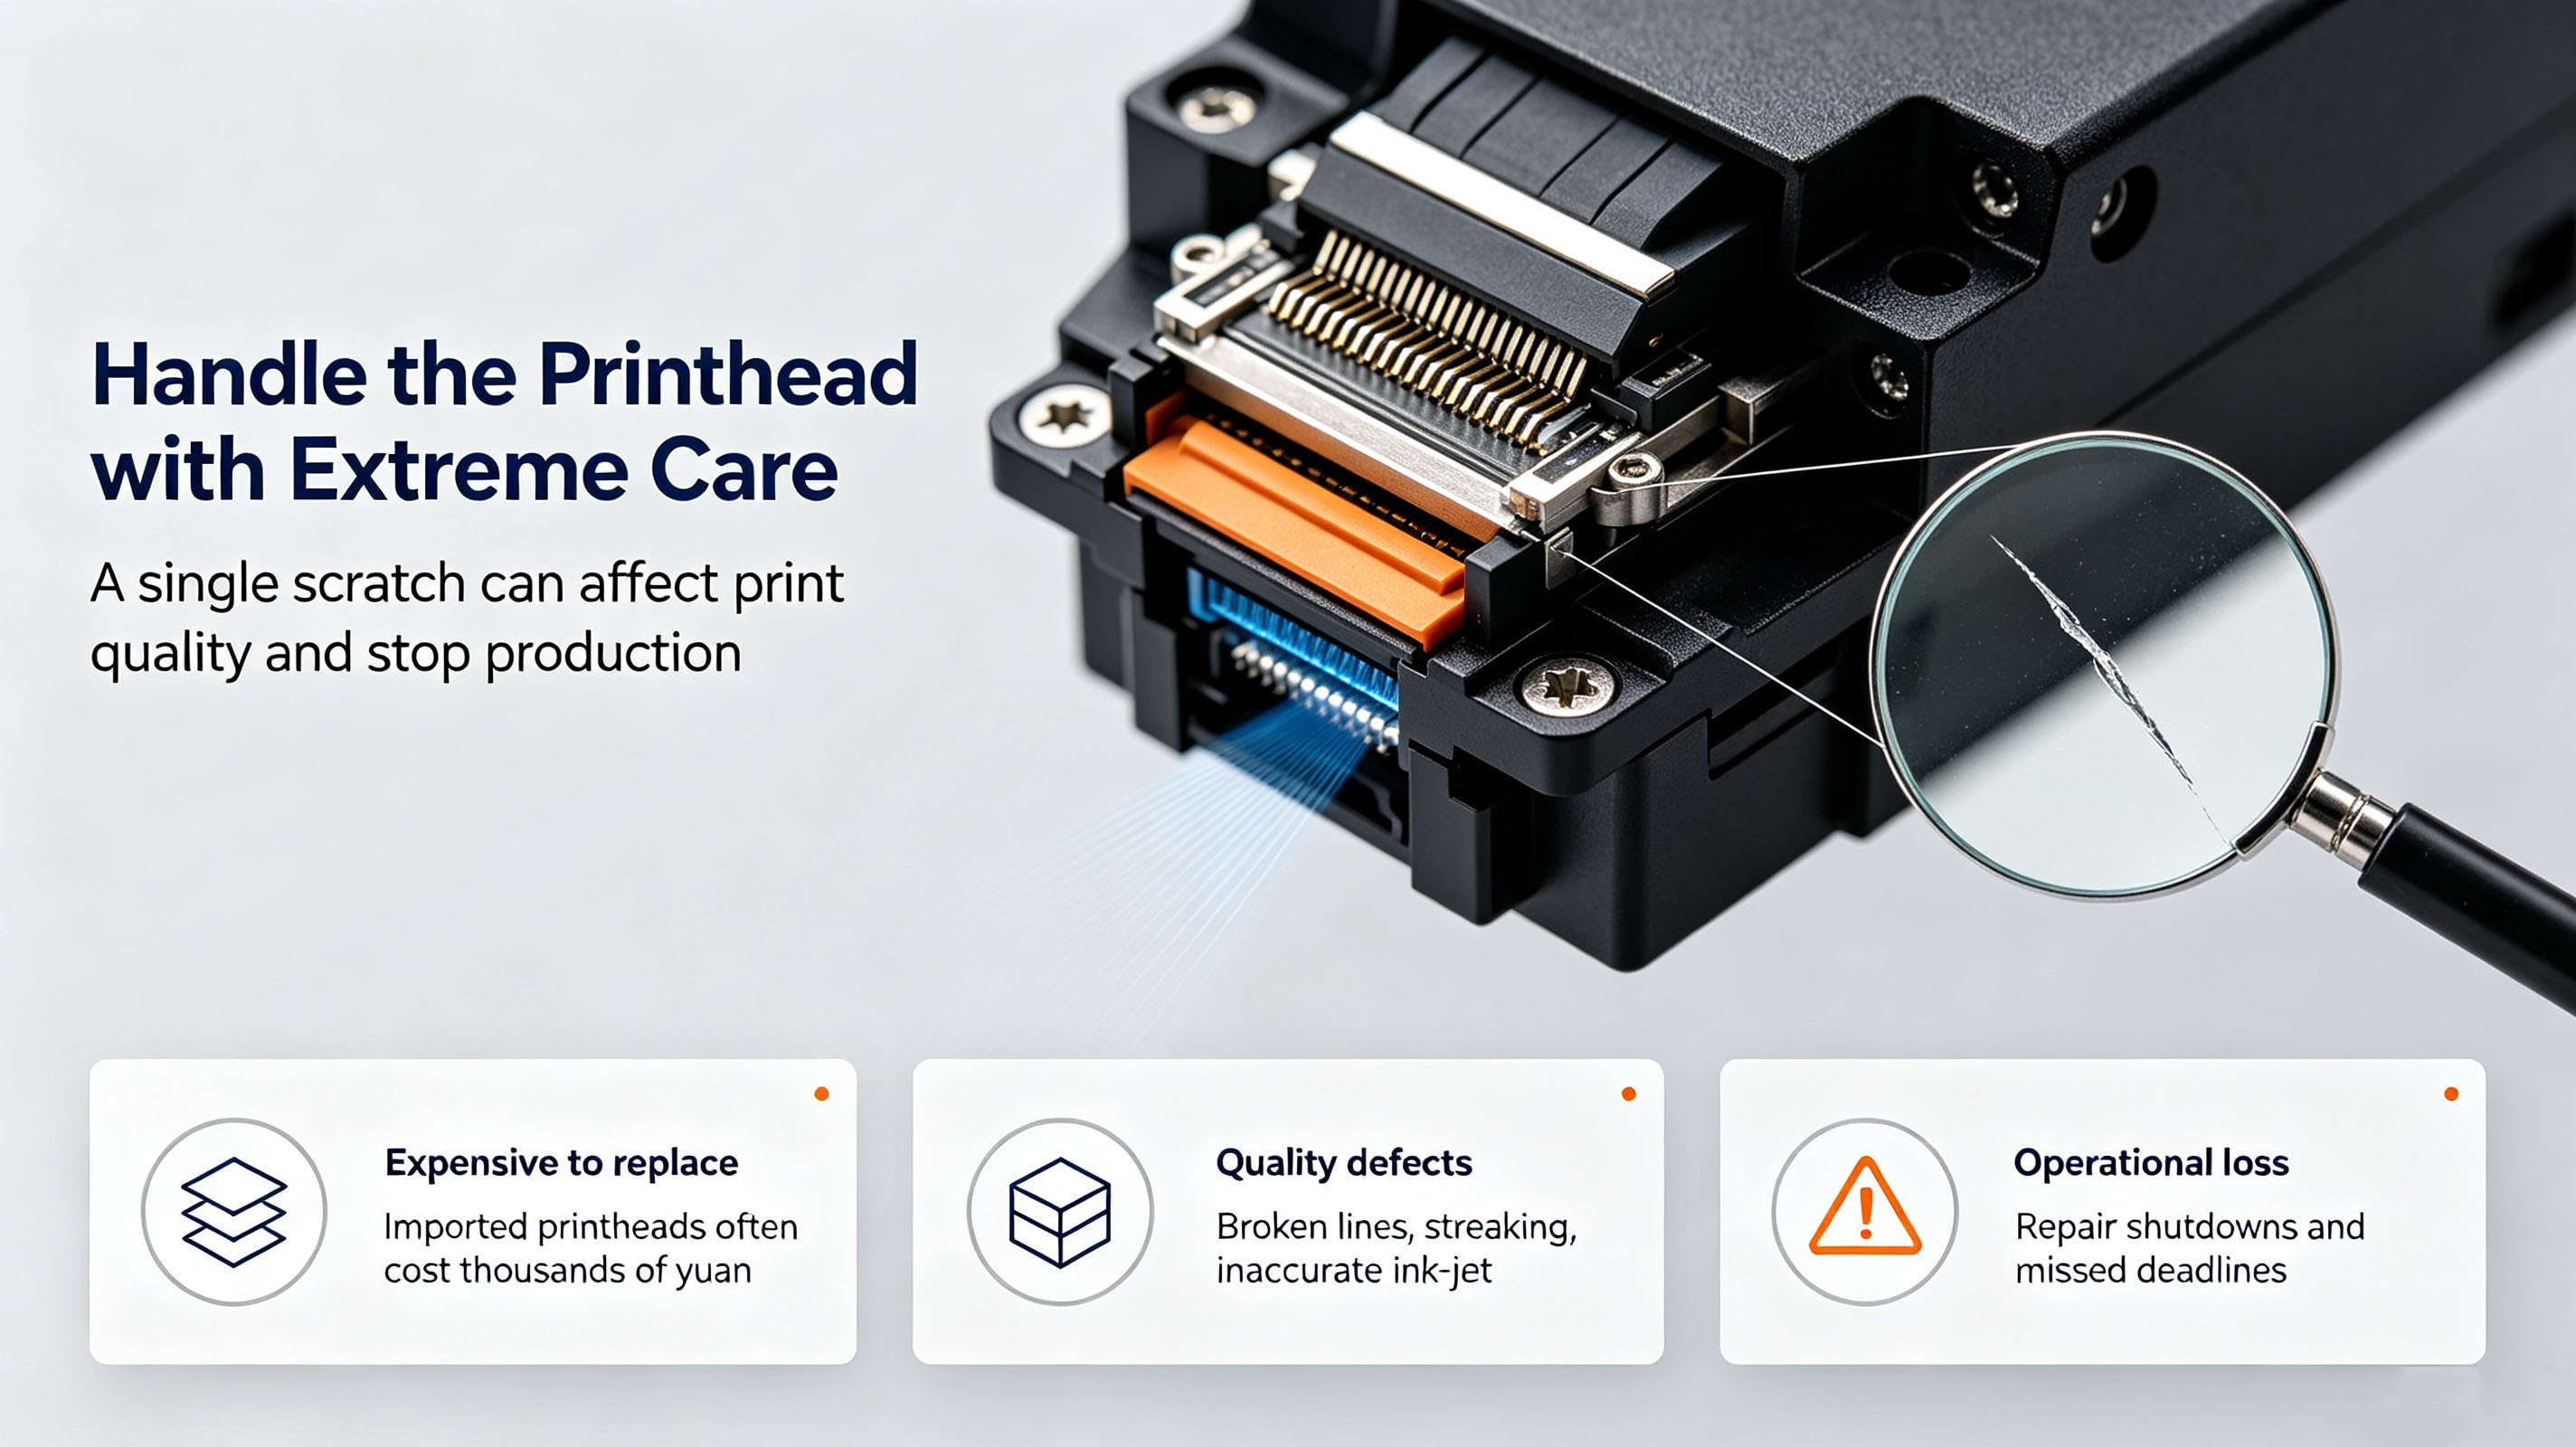
In UV printing production, the printhead is one of the most critical and delicate components of the entire machine. Replacing an imported printhead can easily cost thousands or even tens of thousands of RMB. Once the printhead is scratched or damaged, it may cause poor inkjetting accuracy, missing nozzles, banding, and streaking. In severe cases, the printhead may fail completely, resulting in machine downtime, maintenance costs, and delayed orders.
In reality, most printhead collision accidents are not caused by machine quality issues, but by operational mistakes and overlooked details during daily production.
Today, we summarize the most common risks and practical protection methods from real production environments into 5 key points, helping every printing professional minimize the risk of printhead damage.
1. Platform Leveling Is the Foundation
An uneven printing platform is one of the most common and easily overlooked causes of printhead collision.
- Before printing, always check the flatness of the printing platform. Especially for machines operating at high frequency over a long period, the platform may develop slight deformation due to repeated material placement, loose screws, or long-term mechanical stress. Regular inspection with a spirit level or diagonal height measurement is recommended.
- The material must be placed completely flat. Avoid situations where corners are lifted or the center area is sunken. Even a height difference of only 1–2 mm can cause the printhead to scrape against the material during high-speed carriage movement.
- Turn on the vacuum suction system to ensure the material stays tightly attached to the printing platform, reducing risks caused by material warping.
- Keep the printing surface clean. Before printing, remove residual ink, paper scraps, double-sided tape pieces, and other debris. These small “hidden bumps” may lift the material surface and damage the printhead when the carriage passes over them.
Tip:
Develop the habit of checking the platform when powering on and visually inspecting the material before printing. A few seconds of inspection can save thousands in printhead repair costs.
2. Secure the Edges of Flexible Materials Properly
Flexible materials such as leather, PVC, and floor graphics films usually have elasticity and memory curl characteristics. Poor edge fixation is one of the most common causes of printhead collisions.
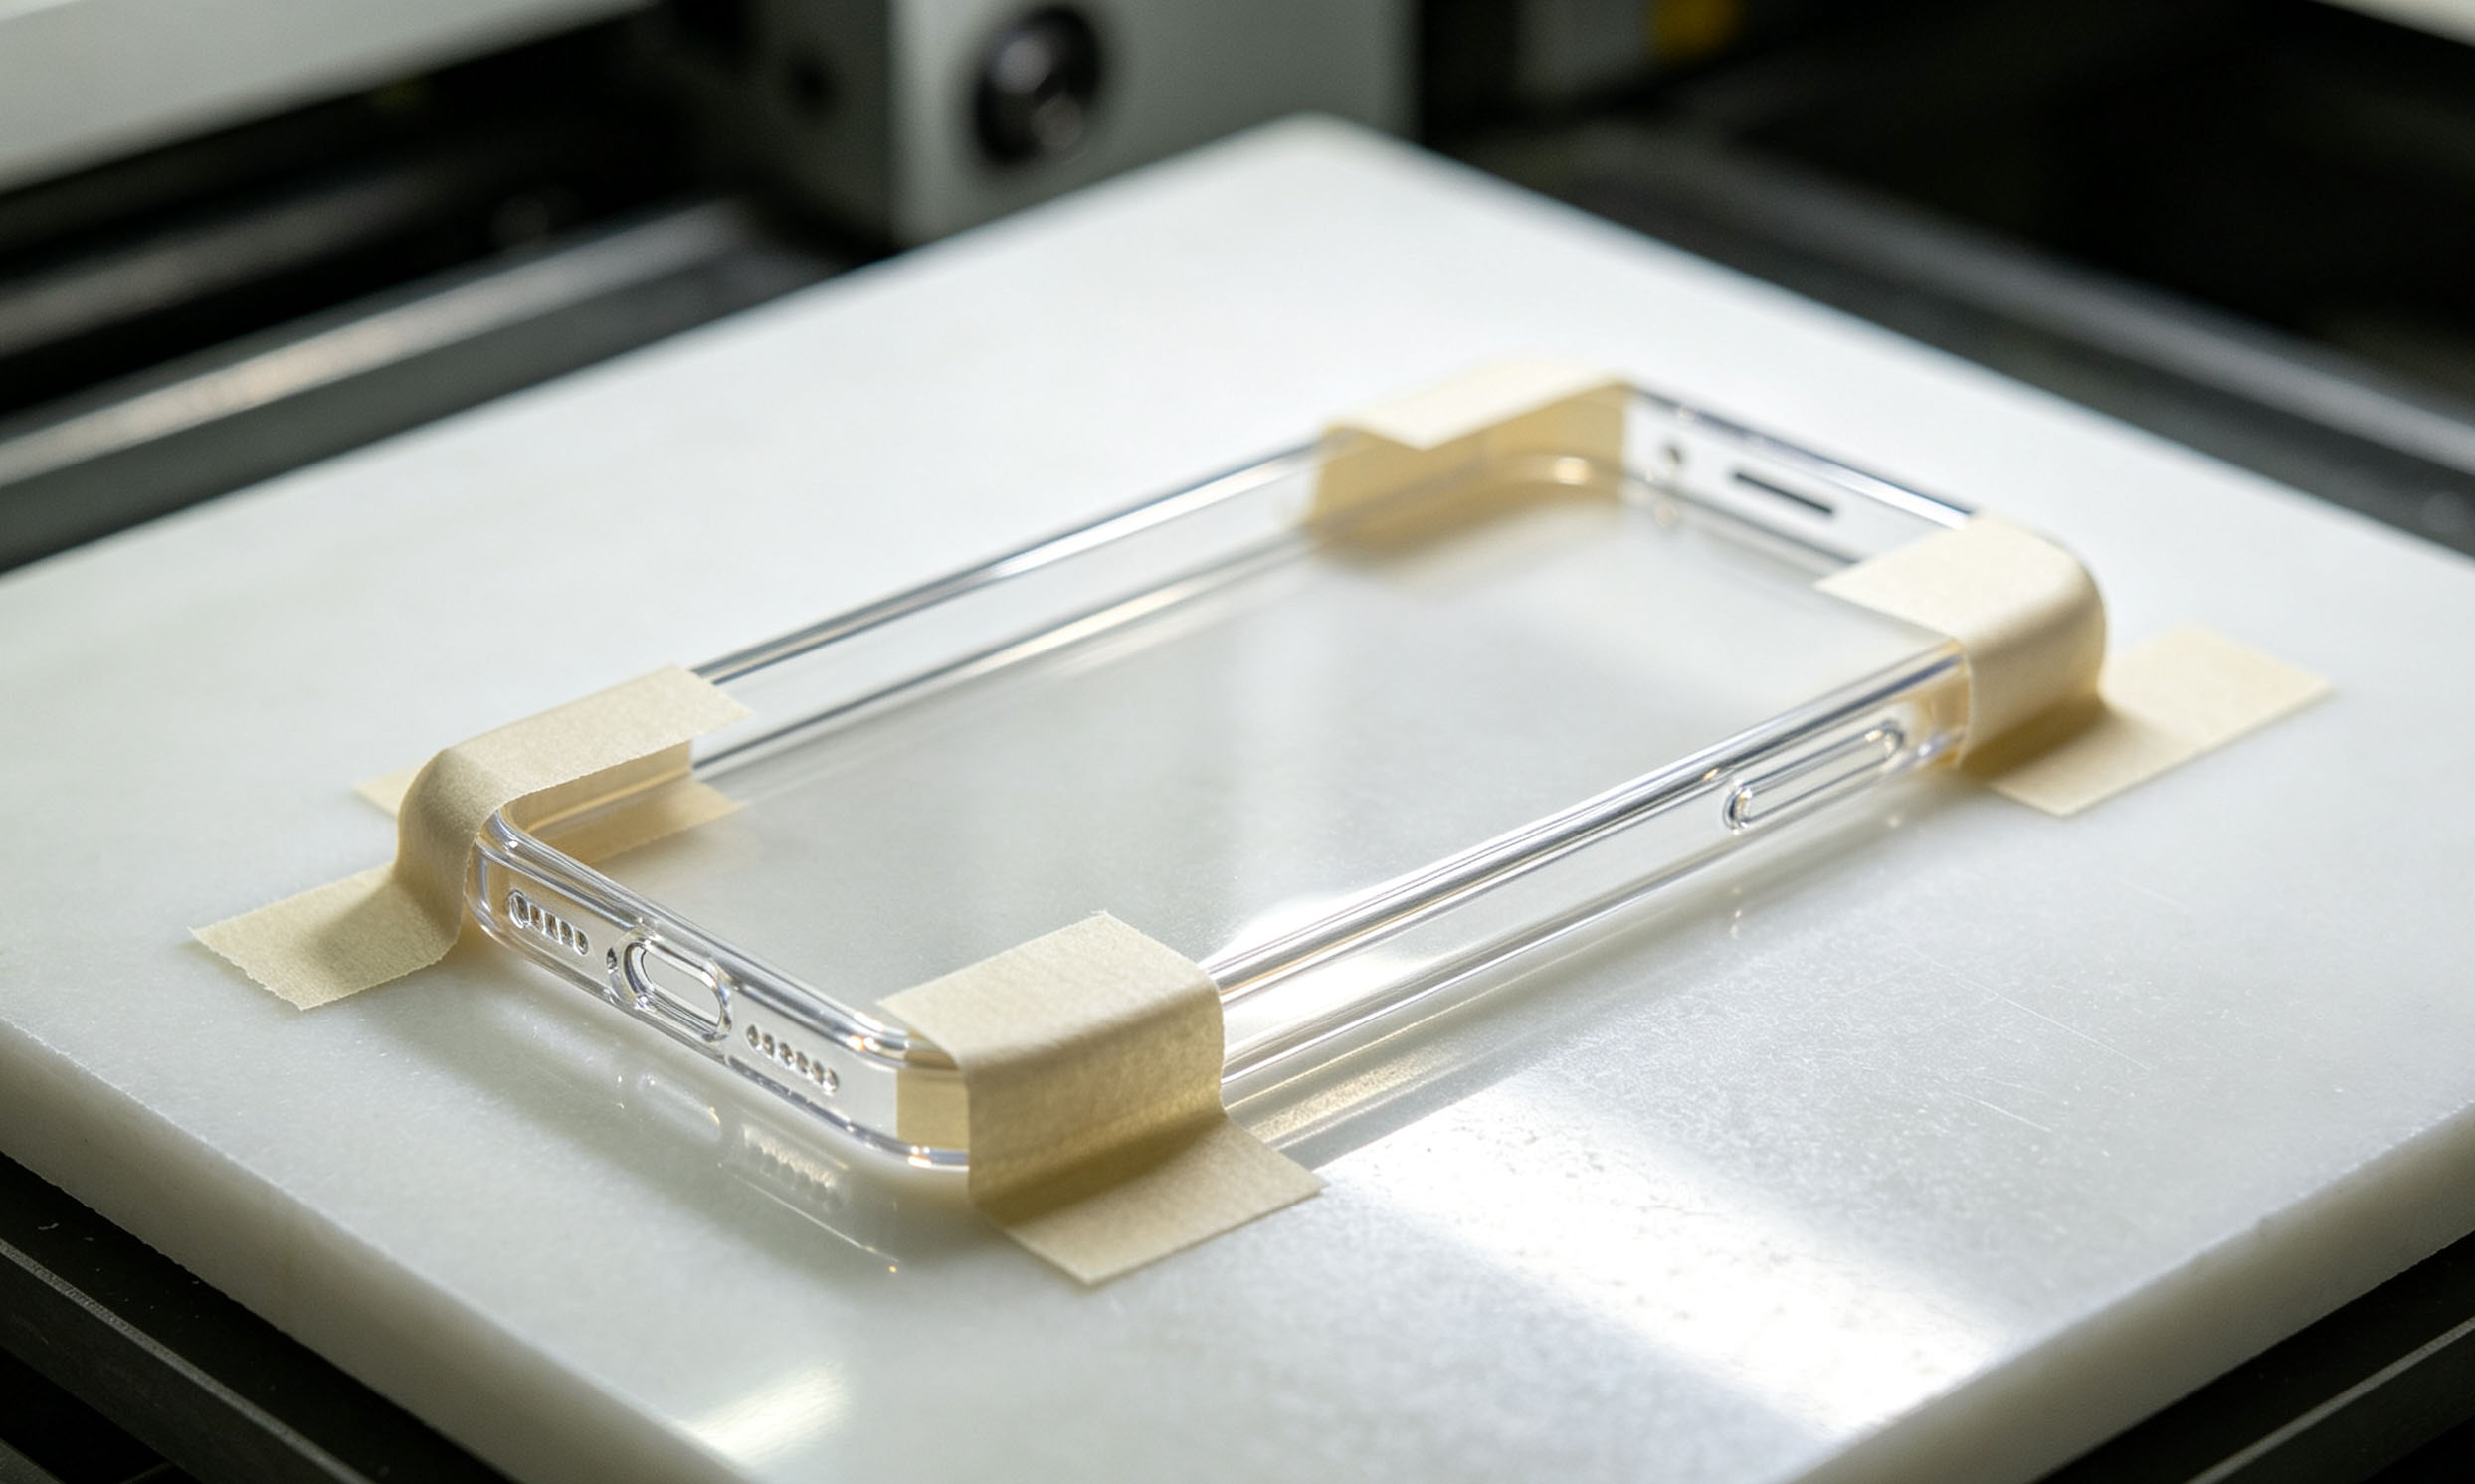
- A common practice in the industry is using masking tape to secure material edges. However, the quality of masking tape varies greatly and directly affects the fixing performance.
- It is recommended to use high-quality, high-adhesion masking tape. Old tape with reduced adhesion or masking tape that has been repeatedly removed and reused may easily lose its holding force and cause edge lifting during printing.
- When applying tape, make sure there are no air bubbles, loose areas, or wrinkles between the tape and the material. The tape should be applied smoothly and firmly, especially at the four corners and edges.
- Once the material edge lifts due to insufficient adhesion, the raised edge may directly hit the printhead when the carriage passes over it. This is one of the most common accidents caused by low-cost negligence but high repair costs.
Practical Advice:
Masking tape should not be considered an item where you can cut costs. The price of a roll of high-quality tape is far lower than the cost of repairing a damaged printhead.
3. Proper Pre-Treatment for Special Materials
Different materials have very different physical characteristics. Using the same printing process for all materials is often the beginning of potential problems. Proper pre-treatment before printing is essential.
Hard or Semi-Hard Materials Such as Leather and Metal Products:
It is recommended to use a double fixation method: masking tape + double-sided adhesive tape.
- Masking tape secures the material edges.
- Double-sided tape improves adhesion and stability.
This double protection helps prevent material movement or lifting during printing.
Uneven Surface Materials Such as Sand-Texture Floor Films:
Some materials have naturally uneven surfaces with small particles or raised textures.
Before printing:
- Increase the carriage height.
- Leave sufficient safety clearance between the printhead and material surface.
- Avoid direct contact between the printhead and raised areas during scanning.
Important:
Ignoring material characteristics and printing at default height settings may cause raised particles or textures to instantly scratch the printhead. Such damage is often irreversible.
Recommended Practice:
For frequently used special materials in the workshop, create dedicated pre-treatment SOPs (Standard Operating Procedures) and place them near the machine. This reduces operation errors caused by differences in operator experience.
4. Check the Height of Irregular Products Carefully
Irregular products, such as customized metal parts and complex-shaped items, create another high-risk situation because their surfaces have uneven height variations.
- Before printing irregular products, measure the actual height of each product area, especially raised sections, sharp edges, and joint areas that are easy to overlook.
- Never estimate the height based only on experience and start printing directly. If the highest point conflicts with the printhead movement path, a direct collision may occur.
- For batch production of irregular products, select several products with the highest points as reference samples. Set the print height based on these measurements and leave sufficient safety margin.
- If a single product has large height differences in different areas, consider segmented printing or adjusting the placement angle to avoid collision risks from the beginning.
Key Principle:
It is always better to spend two extra minutes measuring than to use an expensive printhead for “trial and error.”
5. Vacuum Control and Protection
The vacuum suction system plays a critical role in keeping materials flat and firmly attached to the printing platform. However, many operators overlook the impact of uncovered areas on overall suction performance.
- When the printing area is smaller than the platform size, uncovered areas on the vacuum table reduce suction efficiency. As a result, the actual printing area may not receive enough suction force, causing local material lifting.
- Use waste materials or dedicated vacuum covers to block unused areas of the platform. This helps concentrate suction power on the printing area and improves material stability.
- Once the material lifts due to insufficient vacuum suction, the raised area may collide with the printhead during carriage movement. This issue is especially common in large-format printing and multi-panel production.
- During machine installation or workshop planning, it is recommended to prepare several vacuum covers according to commonly used printing sizes for convenient daily operation.
Final Thoughts
Every printing professional understands one basic fact:
Printhead repairs are expensive. A single careless mistake can cost thousands or even tens of thousands of RMB, while also causing valuable production time losses.
Fortunately, most of these risks can be prevented through standardized daily operation.
Turn these five points into a routine checklist before every printing job:
- Level the printing platform properly.
- Secure flexible material edges firmly.
- Perform proper pre-treatment for special materials.
- Measure irregular products before printing.
- Optimize vacuum suction without leaving uncovered areas.
By consistently following these five practices, operators can significantly reduce the risk of printhead collisions and scratches, helping machines run more reliably while improving production efficiency and profitability.
Post time: Jul-31-2026


