
Banding is the complaint we hear most often — and it is also the most misunderstood. People assume stripes mean a clogged printhead. Usually they don’t. A partially blocked nozzle, a misaligned head or even the wrong paper setting can produce the same symptom. Here is what actually causes it, and how to work through it in order.
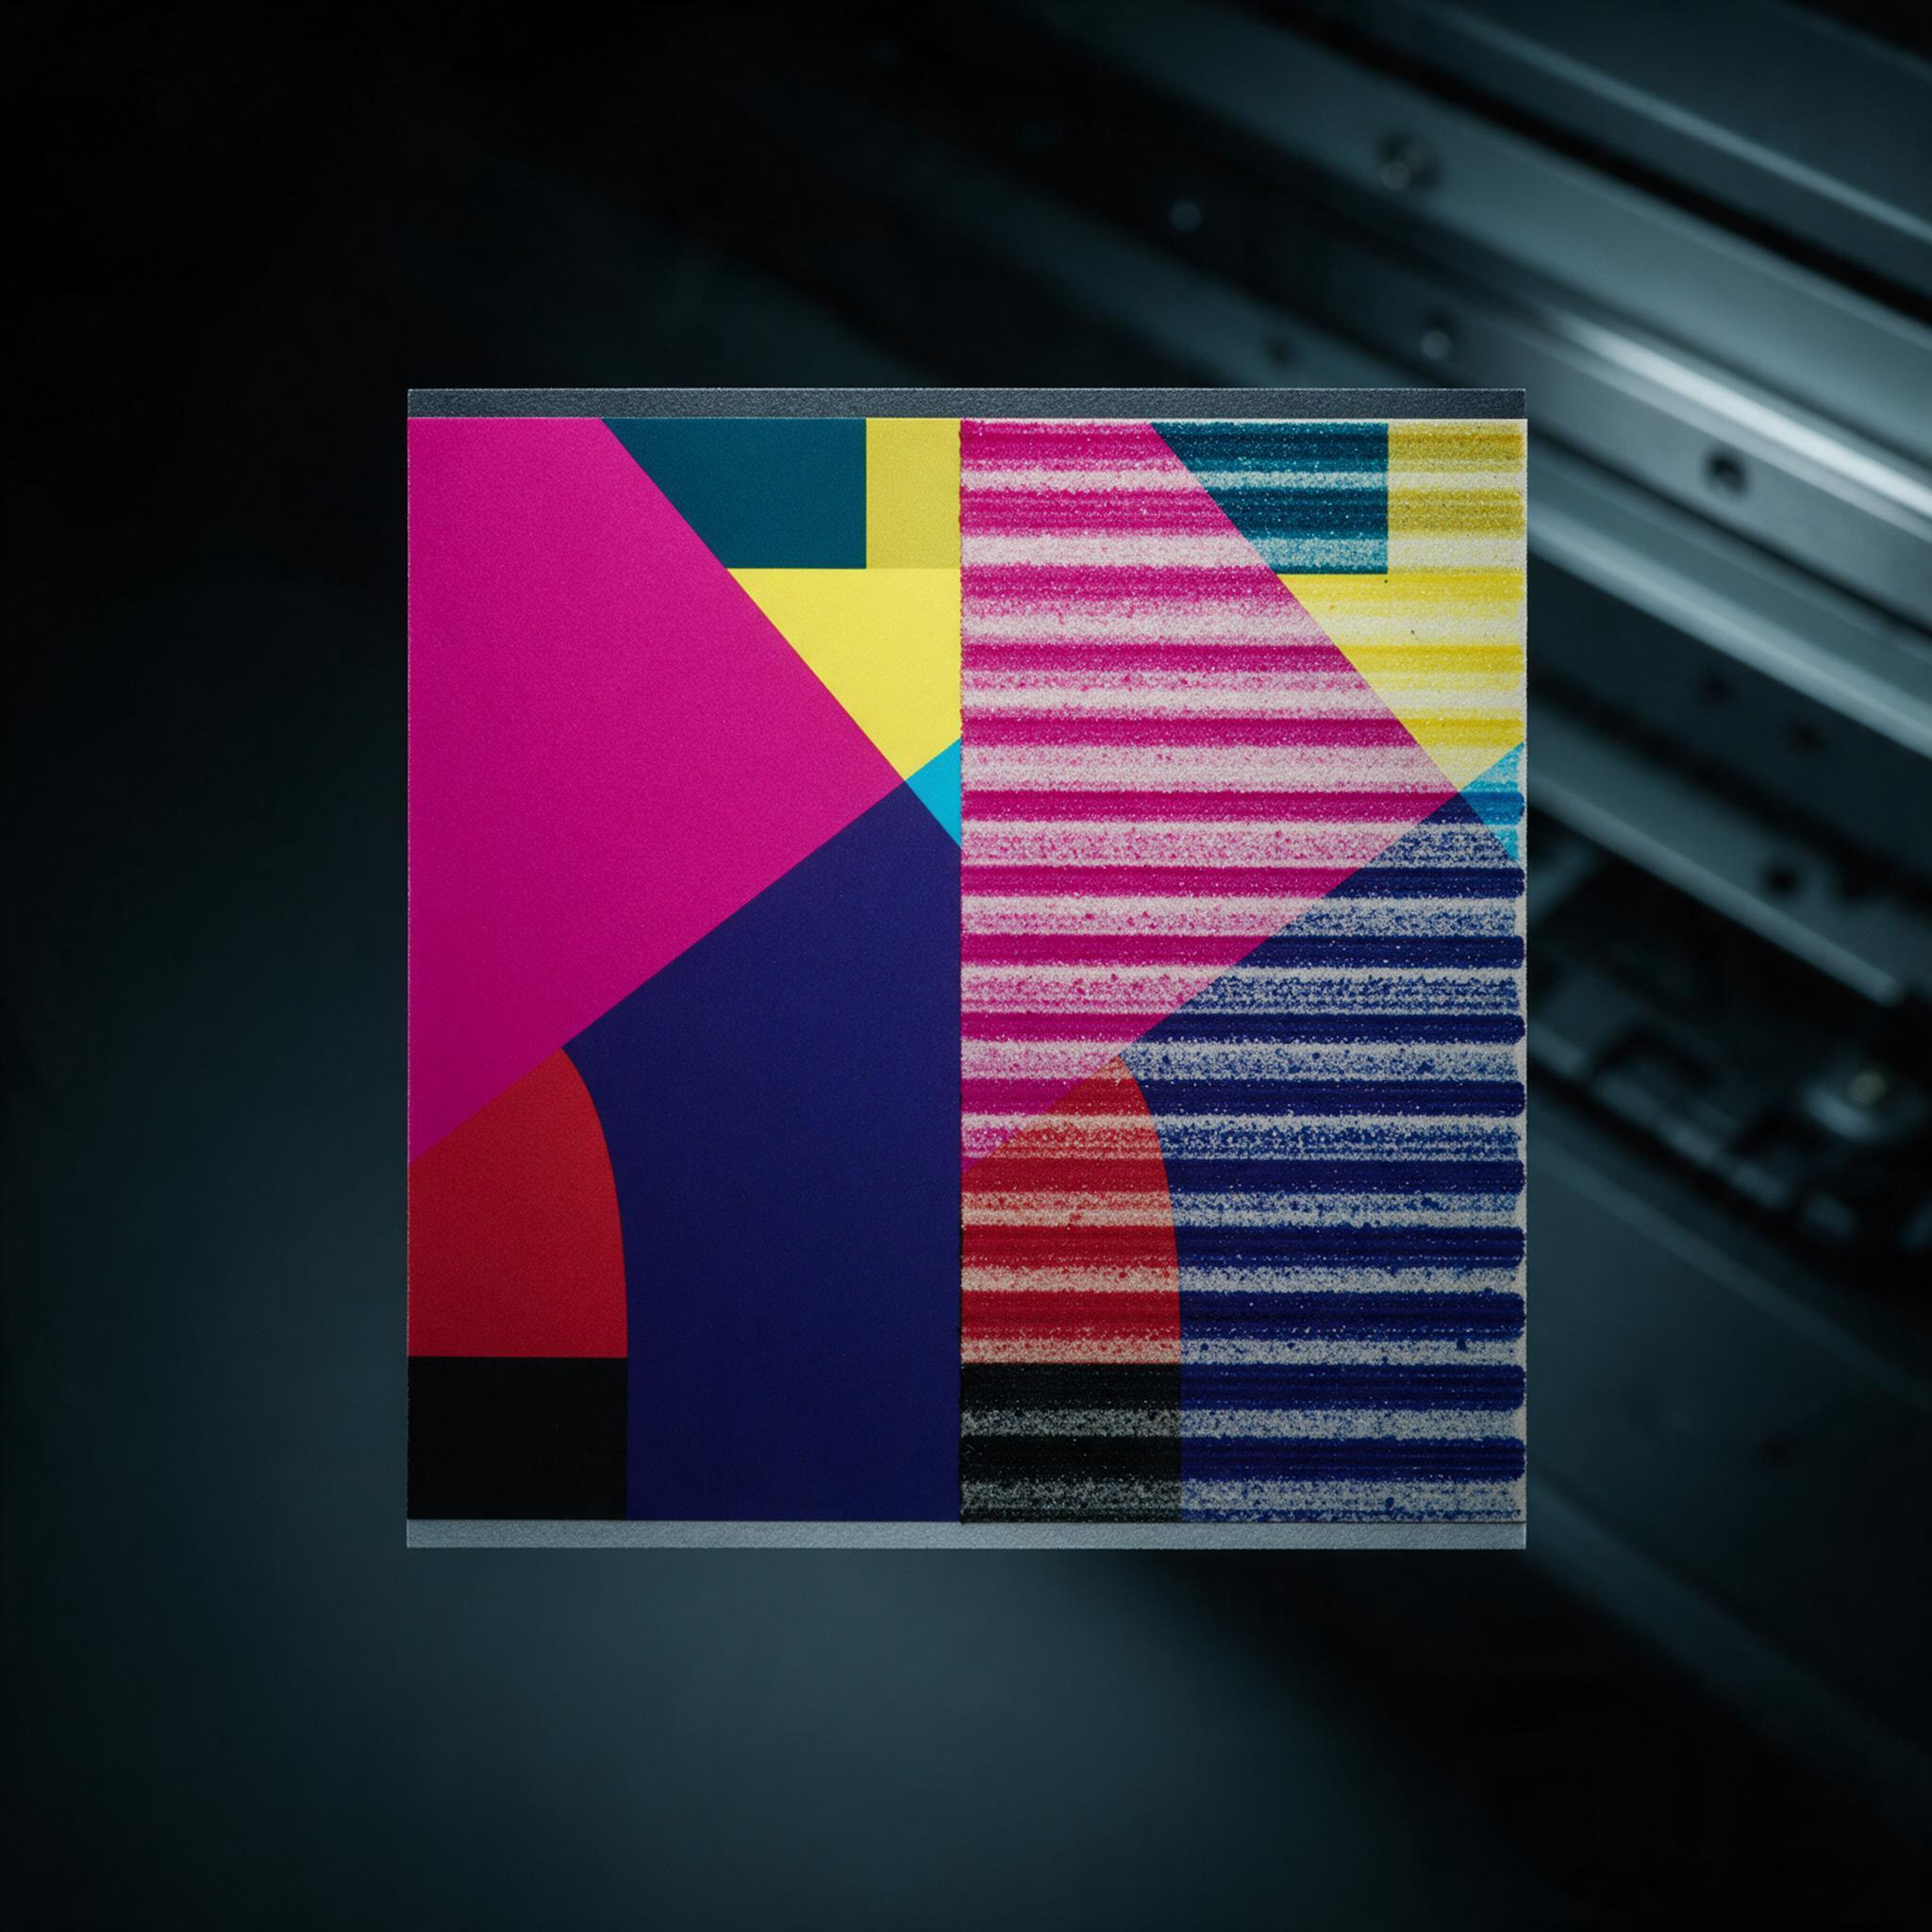
First, figure out what kind of stripe you’re dealing with
Not all banding is the same, and the pattern tells you a lot before you touch anything.
Fixed-position stripes, uneven color. This is the classic partial clog. Some nozzles are firing weakly or not at all, so you get regular gaps in the same place every pass. Run a nozzle check — if the test pattern shows missing segments, cleaning is your first move, not your last.
Ghosting or jagged edges on text. The head is out of alignment. Ink is landing slightly off where it should, so edges double up. This is a calibration issue, not a clog, and cleaning won’t fix it.
Blurred stripe edges or bleeding. Usually the media, not the machine. Plain paper used for photo output, or a paper type set wrong in the driver, will spread ink unevenly. Check your settings before you blame the hardware.
Irregular stripes with noise or paper feed problems. Now you’re looking at hardware — dirty rollers, a worn feed mechanism, poor cartridge contact.
Working through it
Start with the nozzle check. Print the test page from the maintenance menu. If segments are missing, run the standard cleaning cycle — but give it ten minutes between attempts. Repeated cleaning in quick succession wastes ink and rarely helps. If two or three cycles don’t clear it, stop and move to manual cleaning rather than running the cycle ten more times.
Manual cleaning, if the clog is stubborn. Power down, remove the head or cartridge, and wipe the surface gently with a lint-free cloth dampened with distilled water or dedicated cleaning solution. Skip the alcohol and the paper towel — both do more harm than good. Removable heads can be soaked for 10–30 minutes; sealed units can’t, so check your manual first.
Then alignment. If cleaning doesn’t change the pattern, the head is probably misaligned. Run the alignment routine from the settings menu and print another test.
Ink and media. This is where a lot of persistent banding actually lives. Mixed-brand ink, expired cartridges, or ink that has been sitting in a hot workshop will flow poorly and produce exactly the stripes people blame on the printhead. Same with media: make sure the paper type in the driver matches what is actually loaded, and use inkjet-specific stock rather than general-purpose paper.
Hardware checks. Wipe the feed rollers with a damp cloth (power off), and clean the cartridge chip contacts with a pencil eraser if you’re seeing intermittent firing. These are small things, but they account for a surprising share of “mystery” banding.
Settings. If the output looks coarse overall rather than striped, check whether high-speed mode is on. Switching to high-quality, unidirectional printing with feathering enabled usually cleans up the edges.
If none of that works
If you’ve cleaned, aligned, swapped ink and media, and the stripes are still there in the same place, you’re probably looking at a worn printhead or a mainboard fault. That’s a service call, not a maintenance task — stop cleaning and get it looked at before you burn through more ink.
Keeping it from coming back
Print something at least once a week. Ink that sits dries, and dried ink is the root of most clogs. Power down with the button rather than cutting power at the wall, so the head parks and caps properly. Keep the machine out of hot, dry, dusty corners. And use original ink where you can — it costs more up front and less over the life of the head.
Post time: Oct-17-2026


